
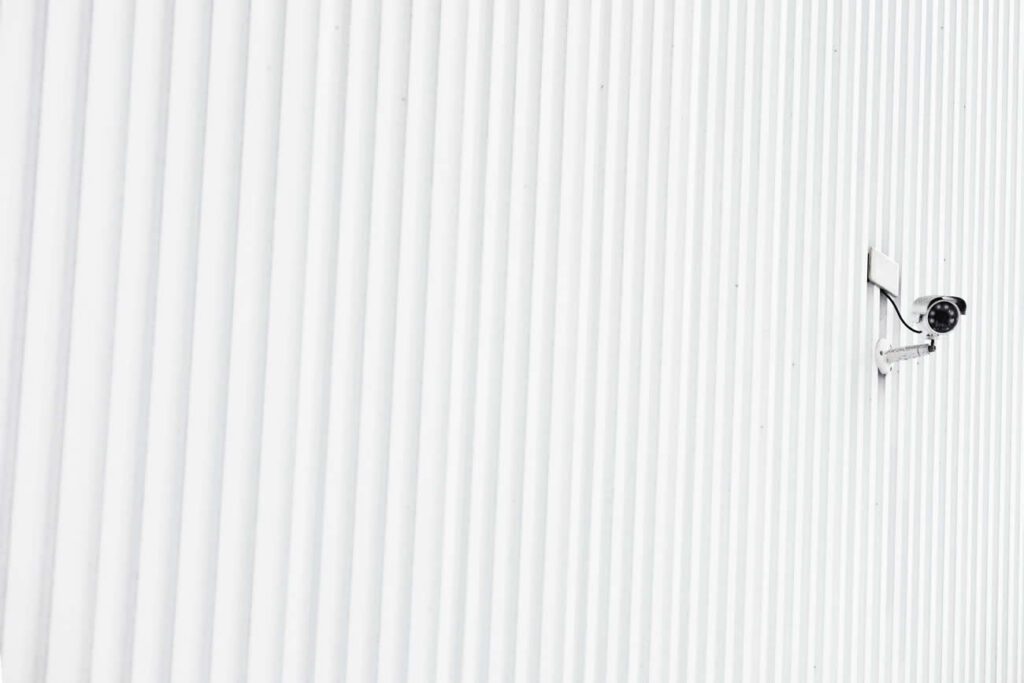
So, you’re looking to install CCTV at home? Whether it’s to feel a bit more secure, keep an eye on the dog while you’re out, or just make sure your deliveries don’t go walkabout, having a decent camera setup can make a big difference.
And the good news? You can absolutely do it yourself – no need to call someone out if you’re happy with a bit of DIY. This guide will walk you through the whole process step by step and help you get things set up the right way from the start.
First Things First – Why CCTV?
There are loads of reasons to get a camera or two around your property. Maybe you’ve had some break-ins nearby. Maybe you want to check who’s at the door when you’re not home. Or maybe you just want that extra peace of mind.
Whatever the reason, CCTV is a great way to keep an eye on things and act as a deterrent too – people are much less likely to try anything if they know they’re being recorded.
What Kind of System Should You Get?
Before you get stuck into the actual installation, you’ll need to choose what type of camera system suits you best. There are two main types: wired and wireless.
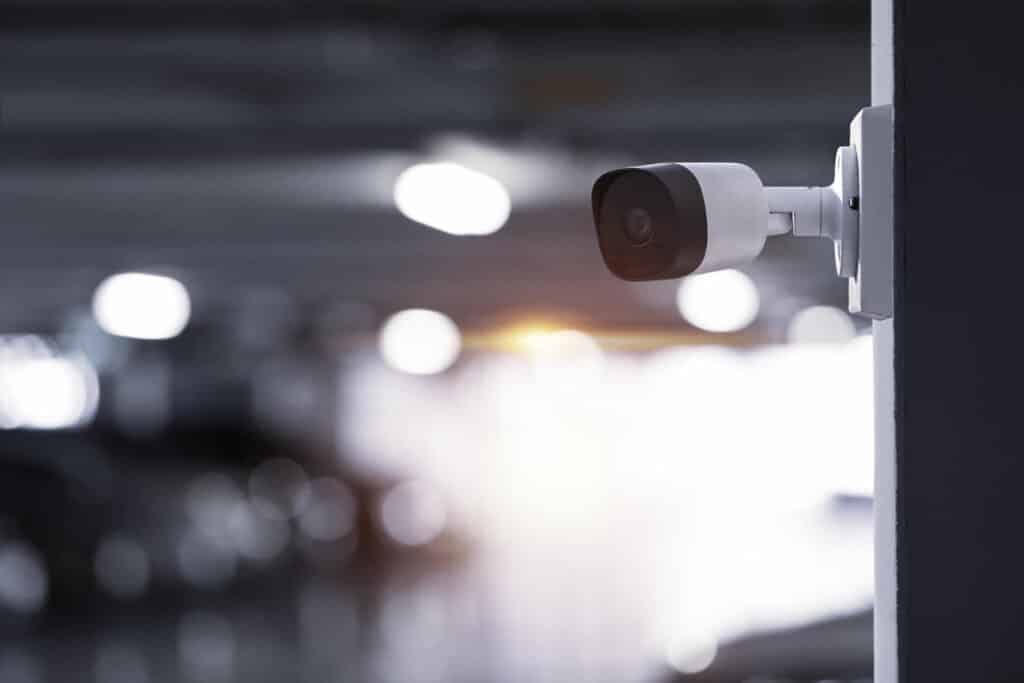
Wired cameras are usually more reliable and tend to give better video quality. They connect directly to a recorder, which stores all your footage. But you’ll need to run cables through your home or outside walls, which takes a bit more effort.
Wireless cameras, on the other hand, are much easier to set up. They connect to your Wi-Fi and send footage to an app on your phone or a cloud service. No cables, no drilling – just plug them in and you’re good to go. But, they do rely on a strong internet connection and might not be quite as stable as a wired setup.
Think about what works best for your home – and how comfortable you feel running cables if you’re going for a wired option.
Planning It Out
Before picking up a drill or climbing a ladder, take some time to figure out where you actually want your cameras to go. This part is really important – get it wrong, and you could end up with blind spots or footage that’s not much use.
Focus on the main entry points first – front and back doors, side gates, and any paths where someone could get onto your property. If you’ve got a driveway or garage, that’s another spot worth covering.
Also, think about lighting. If the area’s quite dark at night, go for cameras with night vision, or make sure there’s enough lighting to capture clear footage. And don’t forget about privacy – you can record your own property, but not your neighbour’s garden or the pavement outside your house. It’s worth looking into the rules if you’re unsure.
What You’ll Need
Once you’ve chosen your system and planned where everything’s going, it’s time to gather your tools.
For a wired system, you’ll usually need:
- A drill (and bits that can get through brick if you’re mounting outdoors)
- Screws and wall plugs
- Ethernet or coaxial cables (depending on your setup)
- A DVR or NVR to record footage
- A monitor or screen to set things up (or use your phone if it’s a smart system)
For a wireless system, it’s a lot simpler. Most of the time, it’s just the camera, a power cable or battery, and the app on your phone.
Installing the Cameras
Now for the fun part. Start with the cameras themselves.
If you’re going wired, you’ll need to drill holes for both the mounting bracket and to feed the cable through. Try to mount the camera around 8–10 feet off the ground – high enough to avoid tampering but still close enough to get a clear view of faces.
Run your cables from the camera back to wherever you’re keeping your DVR or NVR. If you can, keep cables hidden or tucked away neatly – not just for looks, but to avoid damage or weather issues.
For wireless setups, the process is quicker. Most cameras come with a mounting plate – just screw that in, clip the camera on, and use the app to get it connected to your Wi-Fi. Make sure the signal’s strong where you’re placing it, otherwise you might get delays or dropped footage.
Setting Up the Recorder
For wired systems, all your camera cables will plug into your DVR or NVR. This box is what stores your footage and usually connects to a screen so you can see what’s going on. Plug it all in, follow the setup instructions, and configure your settings – like motion detection zones or how long you want to keep footage before it overwrites.
With wireless systems, it’s often done through an app. Once the camera is connected, you can adjust settings, view live footage, and receive alerts straight to your phone.
Make sure you set a secure password for your system – especially if it’s connected to the internet. You don’t want anyone else accessing your cameras.
Test Everything
Once everything’s up and running, take a bit of time to test it all properly. Check each camera’s view to make sure it’s covering the area you want. Walk around in front of them and make sure they’re picking up movement and recording it clearly.
You might need to tweak the angles a little or change the sensitivity if you’re getting too many alerts from passing cars or birds flying past.
A Bit About Storage
Your system will store footage either locally or in the cloud. DVRs and NVRs usually come with a hard drive, which can store days or even weeks of footage depending on the quality and number of cameras.
Wireless systems often offer cloud storage – sometimes free for a limited time or for short clips, but you might need a subscription for full access. It’s a good idea to check this before buying so you’re not caught out by hidden costs.
Keeping It All Running Smoothly
Like anything, your CCTV system will need a bit of maintenance now and then. Clean the camera lenses every so often to avoid blurry footage – especially if they’re outside and exposed to rain or dust.
Check your recordings from time to time to make sure everything’s still working properly. It’s easy to forget about your cameras until something happens – but it’s better to spot any issues early.
Also, make sure your system stays up to date. If it uses an app or software, install updates when they come through – they often include security patches or new features.
A Few Things to Keep in Mind
If you’re installing CCTV at home, there are a couple of rules you’ll need to follow. You’re allowed to film your own property, but you can’t point your cameras at public areas or your neighbour’s windows.
If your cameras do capture any part of someone else’s property, even by accident, you’re technically collecting personal data – so you’ll need to comply with the Data Protection Act. That includes letting people know you’ve got cameras up (a simple sign usually does the trick) and not keeping footage longer than you need to.
It might sound a bit over the top, but it’s all about balancing home security with other people’s right to privacy.
Are you looking for CCTV Systems in Bradford? If so, then Wefit Home Tech is your go-to company. Contact us online today or call 0800 056 5177 for a free quote.
Final Thoughts
Setting up CCTV at home might feel like a big job at first, but once you get into it, it’s actually pretty straightforward – especially if you take it one step at a time.
A bit of planning, the right tools, and a clear idea of what you want to cover makes all the difference. And once it’s all in place, you’ll have that extra layer of protection for your home – and peace of mind that you can check in, no matter where you are.
If you’re ever in doubt, there’s no harm in getting advice or calling in a professional. But if you’re comfortable with a bit of DIY, there’s no reason you can’t do this yourself.
Cctv Systems Bradford – Cctv Systems Shipley – Wifi Services Knaresborough